Shingle roof installation is one of the most effective ways to protect your home from weather damage while enhancing durability and curb appeal. For beginners, the process can seem complicated due to multiple layers, precise measurements, and strict installation order. However, with clear guidance, installing asphalt shingles becomes much more manageable.
Garco Home Improvements has years of experience helping homeowners understand and complete roofing projects safely and efficiently. This guide explains the complete shingle roof installation process, highlights common challenges, and shares best practices, empowering you to achieve a strong, long-lasting roof that protects your home for years to come.
Shingle Roof Installation: Quick Overview
- Roof Type: Asphalt shingle roof
- Difficulty Level: Moderate
- Time Required: 1–3 days (average residential roof)
- DIY Friendly: Yes, with safety precautions
- Best Weather: Dry, mild temperatures
- Key Layers: Roof deck → underlayment → starter shingles → field shingles → ridge shingles
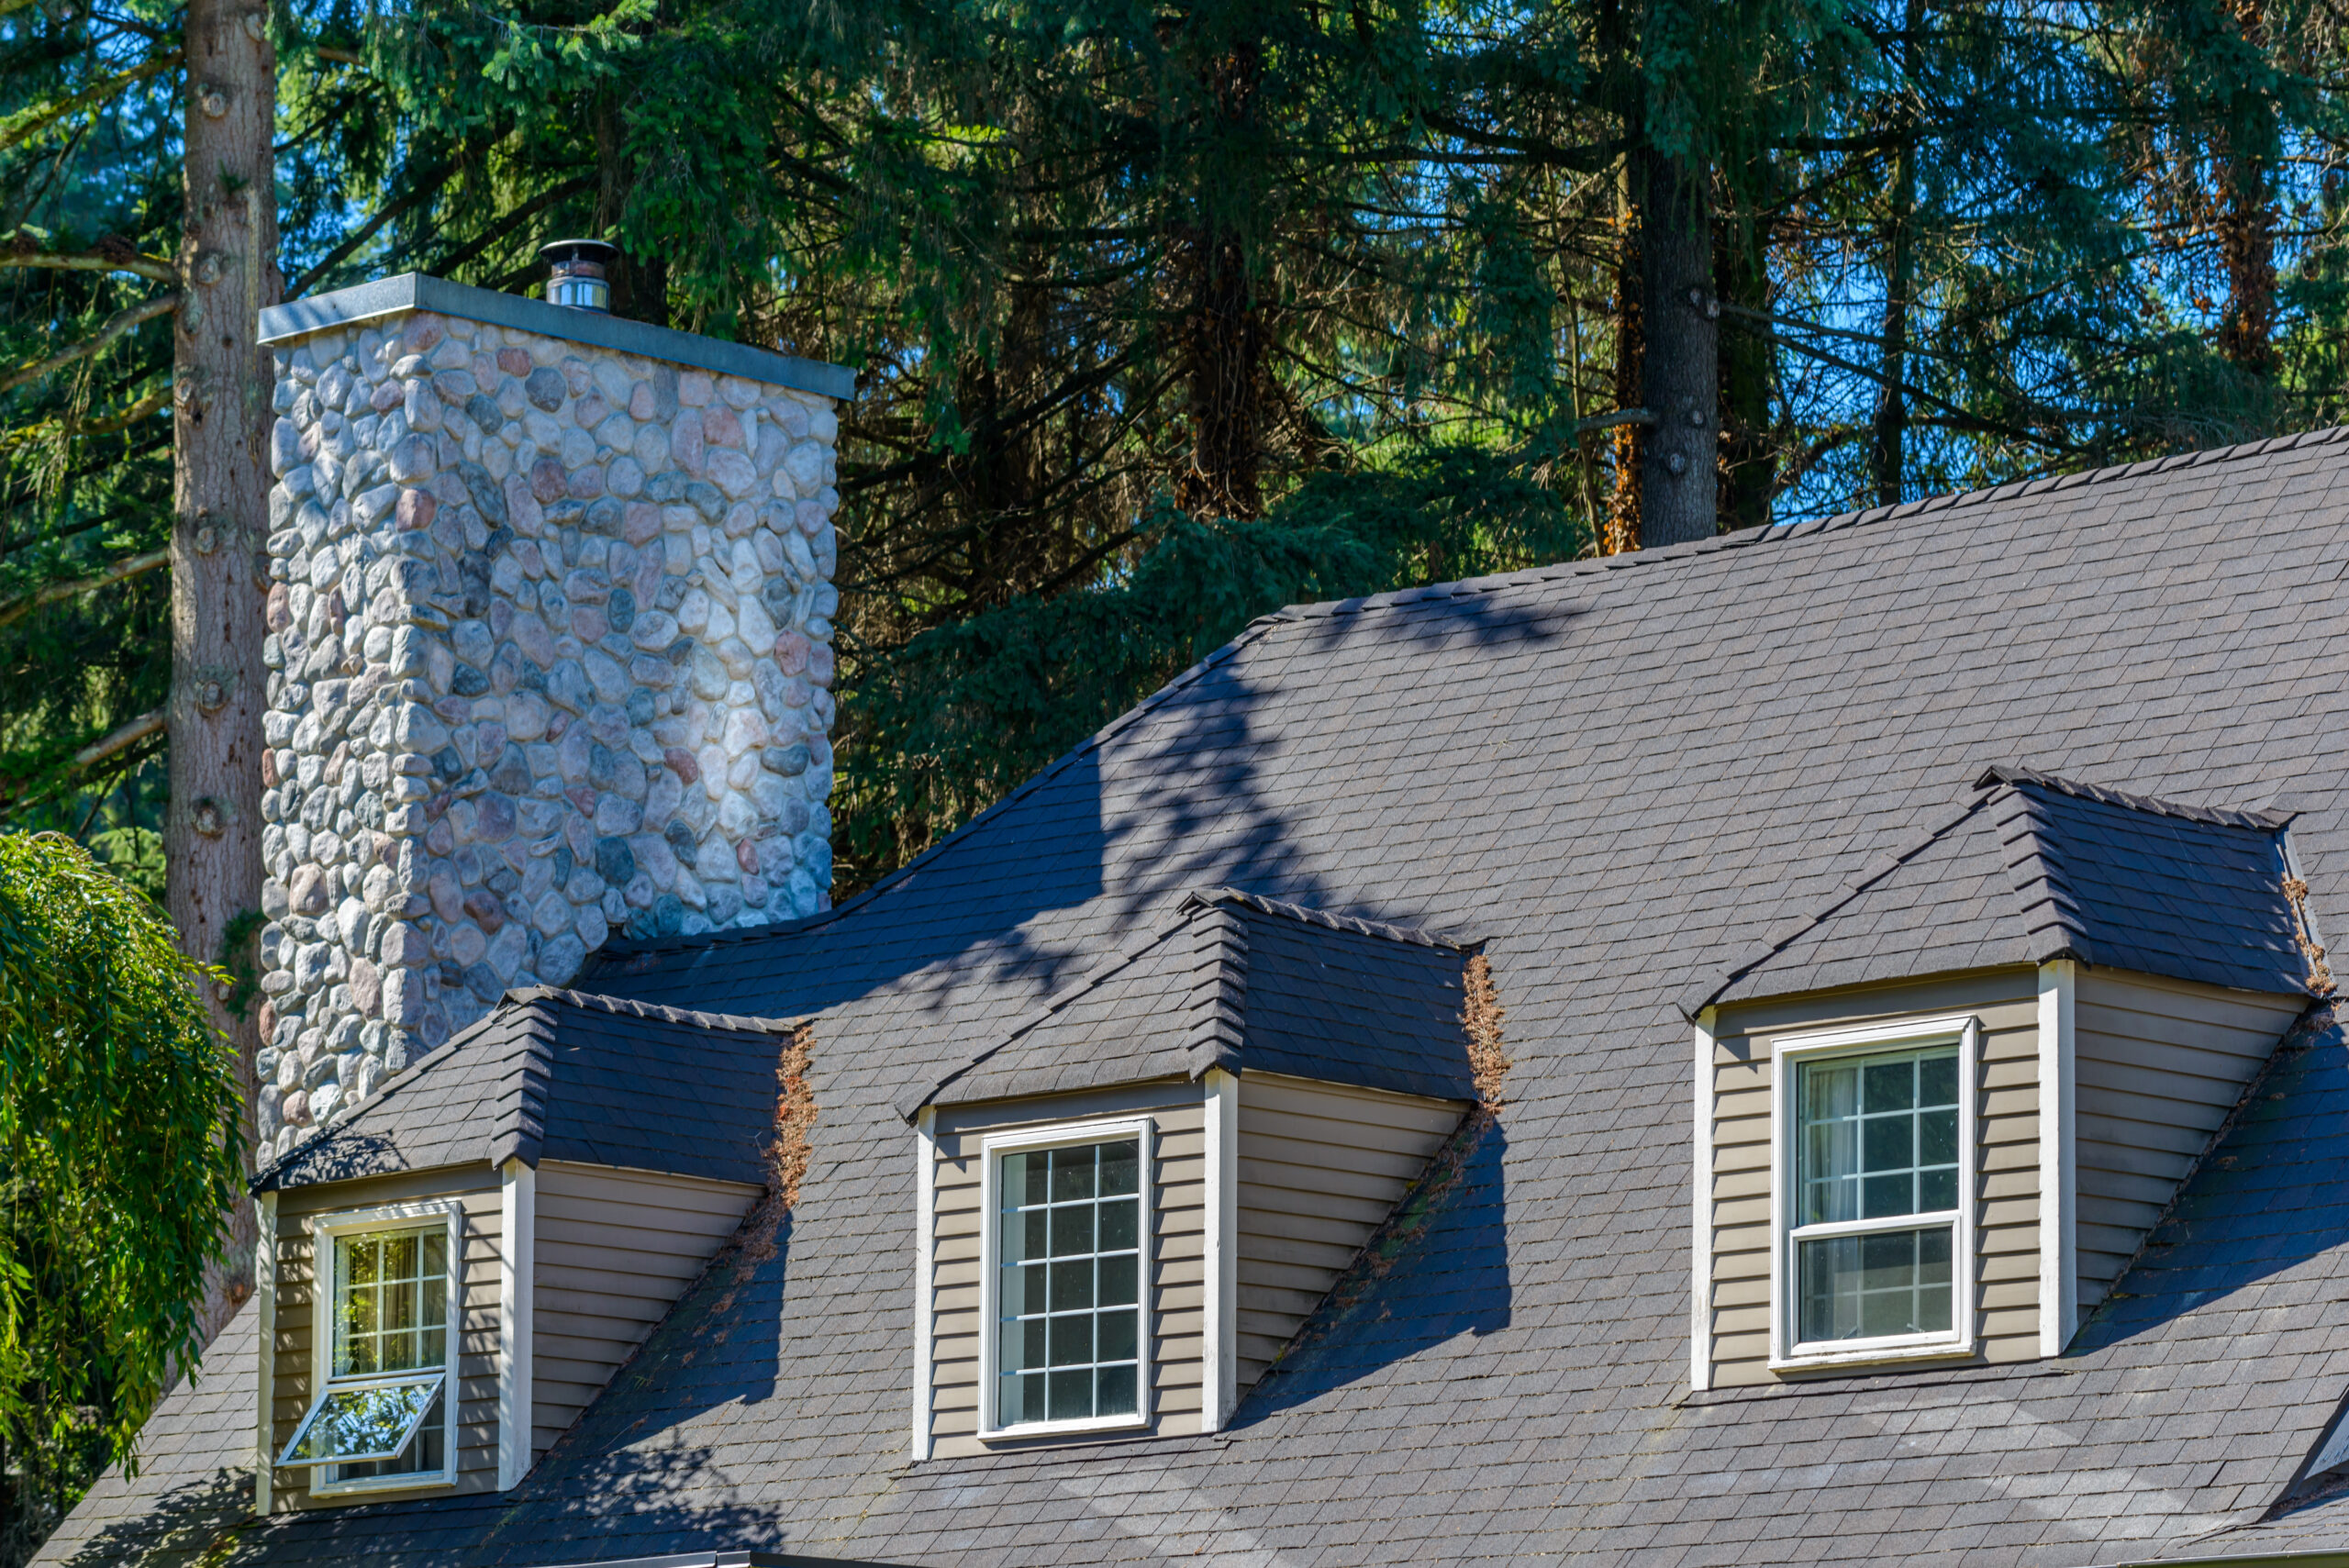
What Is Shingle Roof Installation?
Shingle roof installation in Gulfport, MS, is the process of laying asphalt shingles in overlapping rows on a prepared roof deck to create a waterproof, wind-resistant roofing system. Each layer plays a role in preventing leaks, improving durability, and extending roof’s lifespan.
Why Shingle Roof Installation Is Challenging for Beginners
Shingle roof installation is not technically complex, but it requires precision and correct sequencing. Beginners often struggle because:
- The installation order matters
- Nail placement must be exact
- Water-shedding relies on proper overlap
- Mistakes are not visible until leaks appear
Missing even one step—like improper underlayment overlap or incorrect starter shingle placement—can lead to water intrusion, shingle blow-off, or premature roof failure.
Tools and Materials Needed
Before starting, make sure you have:
Tools
- Roofing hammer or nail gun
- Utility knife
- Chalk line
- Tape measure
- Pry bar
- Ladder and roof harness
Materials
- Asphalt shingles
- Roofing underlayment (synthetic or felt)
- Starter shingles
- Roofing nails
- Flashing for vents and chimneys
- Ridge cap shingles
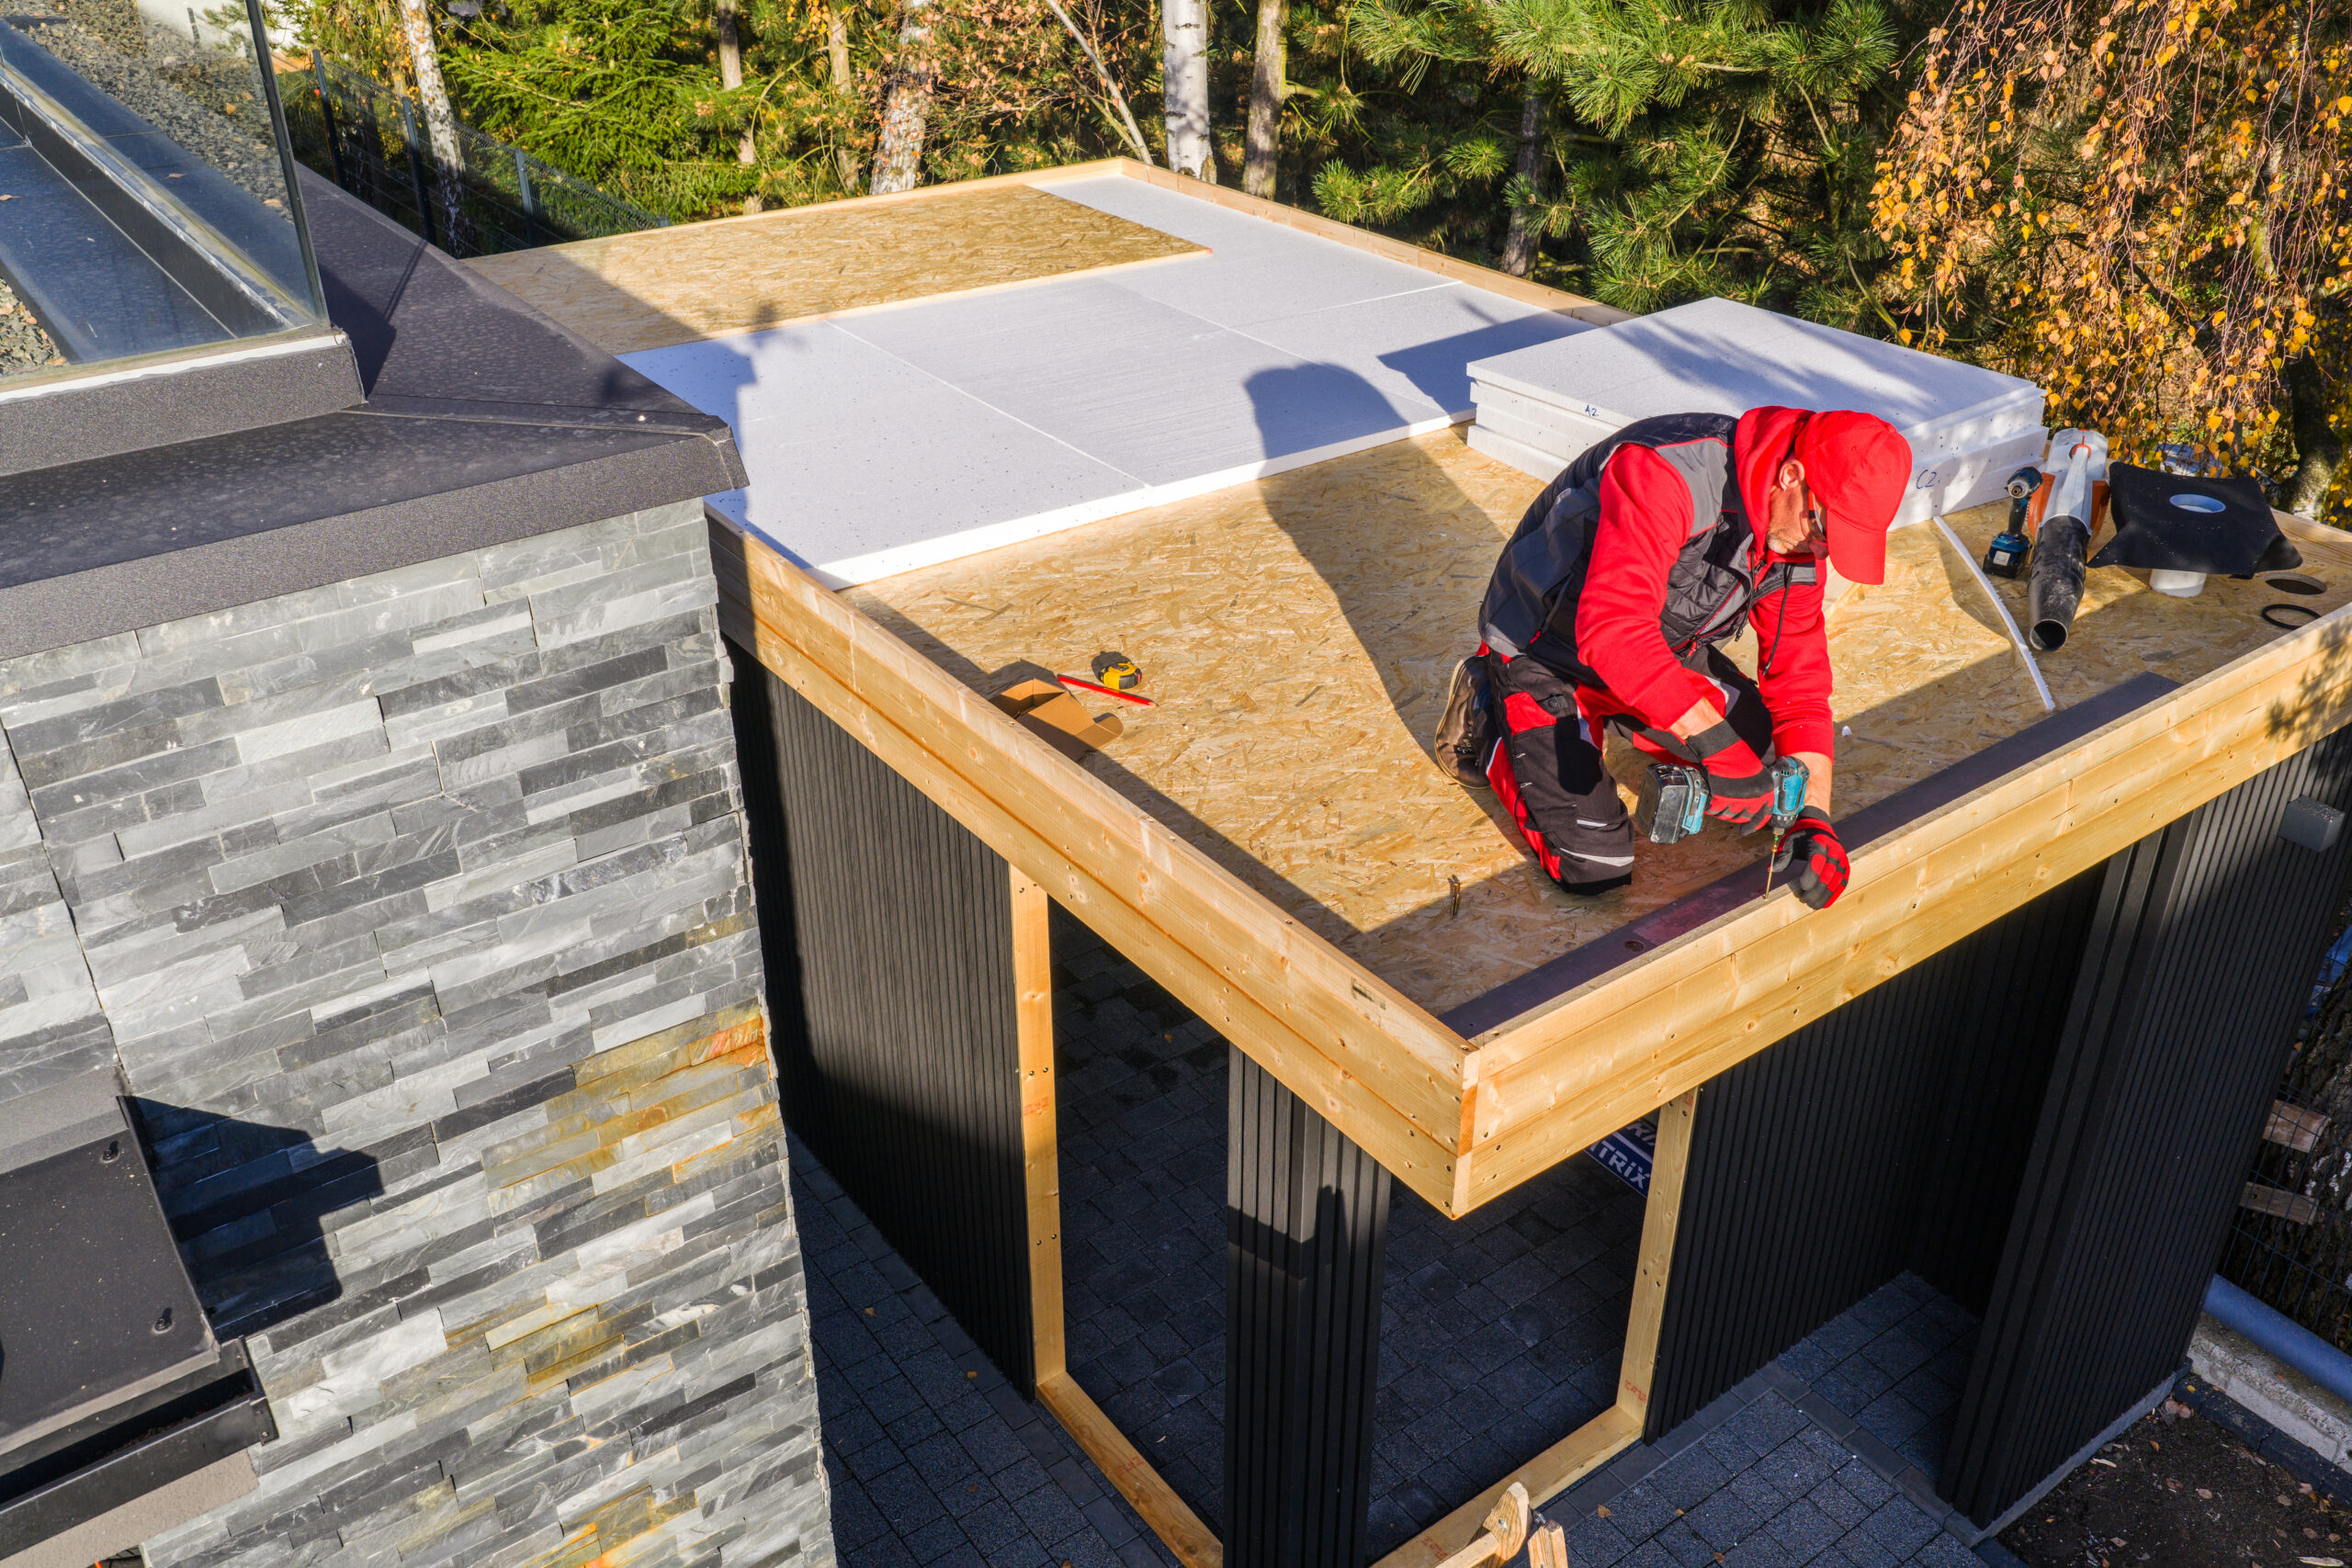
Step-by-Step Shingle Roof Installation Process
1. Prepare the Roof Surface
Before installing shingles, the roof deck must be clean, dry, and structurally sound.
Steps:
- Remove old shingles and nails
- Clear debris, dust, and loose materials
- Inspect plywood for rot or sagging
- Replace damaged decking if needed
Why this matters:
Shingles rely on a flat surface to seal properly. Installing over uneven or damaged decking reduces roof lifespan and increases leak risk.
2. Install Roofing Underlayment
Roofing underlayment is a moisture-resistant barrier installed directly over the roof deck.
How to install:
- Start at the eaves (bottom edge)
- Roll horizontally across the roof
- Overlap each row by at least 4 inches
- Secure with roofing nails or staples
Why underlayment is critical:
Even if water penetrates the shingles, the underlayment prevents it from reaching the wood deck.
3. Install Starter Shingles
Starter shingles are placed along the roof edges and eaves.
Purpose of starter shingles:
- Seal the first row of shingles
- Prevent wind uplift
- Direct water into gutters
Installation tip:
Starter shingles should overhang the roof edge slightly (about ¼ inch) to allow proper water runoff.
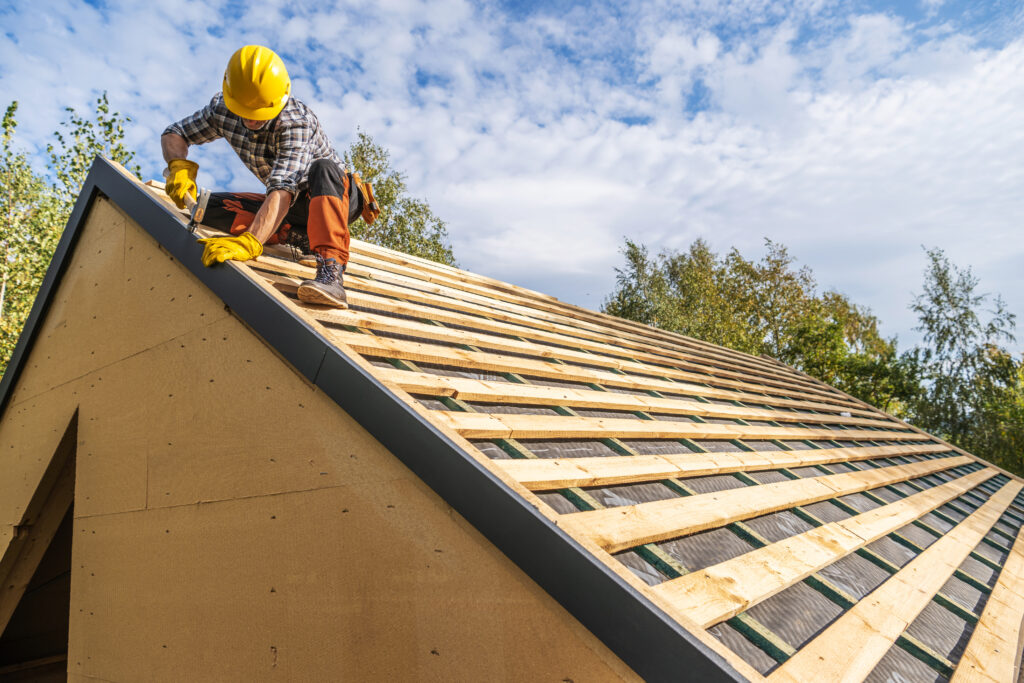
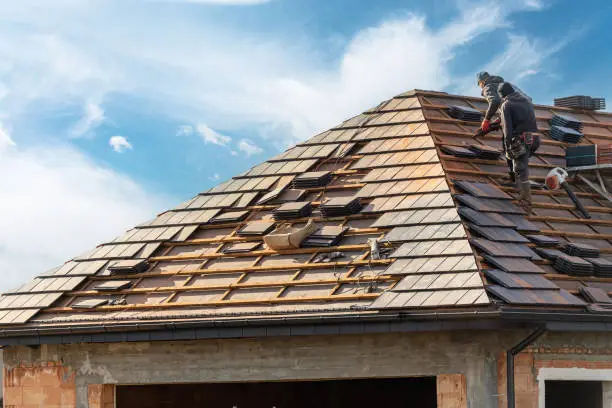
4. Lay Asphalt Shingles in Rows
This is the core of shingle roof installation.
Correct method:
- Begin at the bottom edge of the roof
- Lay shingles horizontally
- Overlap each row above the one below
- Use a chalk line to keep rows straight
- Nail shingles according to manufacturer guidelines
Why overlapping matters:
The overlapping pattern allows water to flow downward without entering the roof system—similar to fish scales.
5. Cut and Fit Shingles Around Roof Features
Roof penetrations such as vents, skylights, and chimneys require precise cutting and flashing.
Key steps:
- Trim shingles carefully to fit snugly
- Install flashing before shingles where required
- Seal edges to prevent gaps
Common beginner mistake:
Leaving small gaps around vents eventually causes leaks.
6. Install Ridge Cap Shingles
Ridge shingles are installed at the roof’s peak.
Why ridge shingles matter:
- Seal the seam between the roof slopes
- Improve attic ventilation
- Protect against wind-driven rain
They are typically installed last and bent over the ridge to ensure a tight seal.
Common Shingle Roof Installation Mistakes to Avoid
- Incorrect nail placement
- Insufficient shingle overlap
- Skipping underlayment
- Installing shingles in wet weather
- Poor ventilation planning
Avoiding these mistakes can add years to your roof’s lifespan.
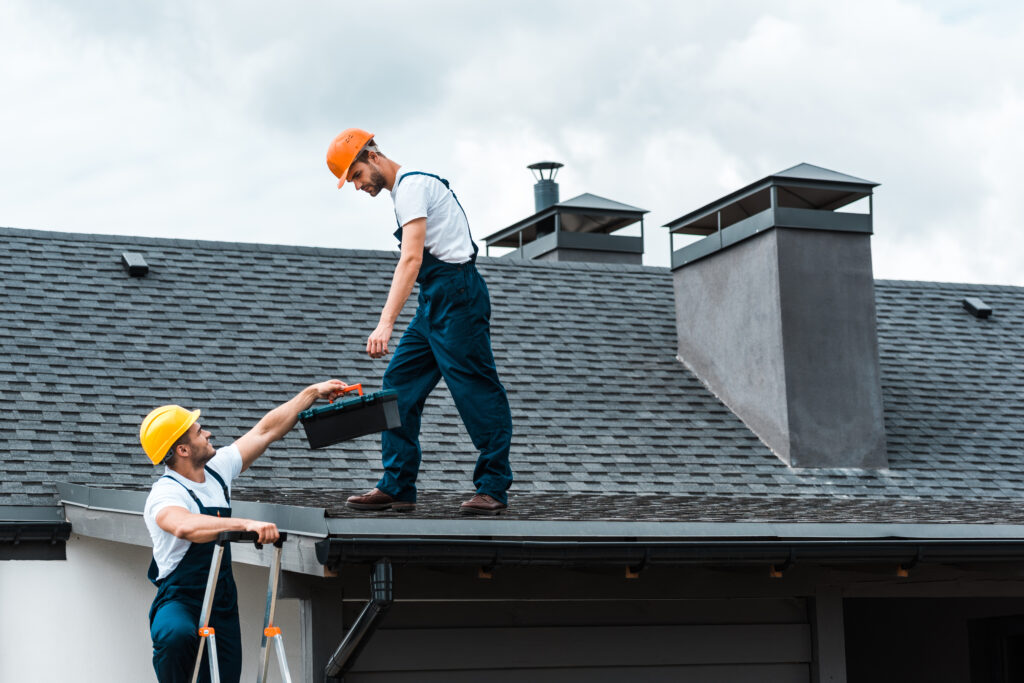
Safety Tips for DIY Shingle Roof Installation
Roofing involves real risks. Always prioritize safety.
- Wear non-slip footwear
- Use gloves and eye protection
- Never work alone
- Secure ladders properly
- Take frequent breaks
If conditions feel unsafe, stop immediately.
When to Hire a Professional Roofer
DIY installation is not recommended if:
- Your roof has a steep pitch
- Structural repairs are required
- Local building codes are complex
- You want manufacturer warranty protection
Garco Home Improvements provides professional shingle roof installation that meets local codes, safety standards, and manufacturer requirements—saving time and avoiding costly mistakes.
Final Thoughts
A properly installed shingle roof is more than just a protective covering—it is a long-term investment in your home’s safety, comfort, and value. When each step of the shingle roof installation process is followed correctly, from surface preparation to ridge cap placement, the result is a durable system designed to withstand harsh weather and prevent costly damage.
While beginners can complete smaller roofing projects with the right tools and precautions, professional expertise ensures precision, code compliance, and lasting performance. Whether you choose to tackle the project yourself or rely on skilled installers, understanding the correct installation process empowers you to make informed decisions and avoid common mistakes. A well-installed roof delivers peace of mind and dependable protection for years to come.
FAQs
1: How much should roof shingles overlap?
Roof shingles should overlap enough to fully cover the nail line of the shingle below, typically about half the shingle height, ensuring proper water drainage.
2: Can I install roof shingles myself?
Yes, homeowners can legally install shingles on their own homes if they follow safety guidelines, manufacturer instructions, and local building codes.
3: Do asphalt shingles need to be glued down?
No. Asphalt shingles are secured with roofing nails and feature a built-in adhesive strip that seals once exposed to heat.
4: What goes under roof shingles?
A roofing underlayment is installed directly on the roof deck beneath shingles to provide moisture protection and leak resistance.
5: How many layers of shingles are allowed on a roof?
Most building codes allow a maximum of two layers of asphalt shingles. Installing more can cause structural and ventilation issues.