A proper roof replacement is more than just taking off old shingles and nailing in new ones. It is a planned exercise that has helped keep your home dry and free of water and irreparable damage. It is only when the homeowners observe the appearance of repeated water stains or drips during storms that they realize that they should replace them in a detailed manner.
Understanding how a proper roof replacement is carried out can help you avoid costly repairs, unnecessary stress, and future roof damage. Professional roofers follow proven, step-by-step methods to ensure the installation is done correctly the first time. By using the right materials, proper techniques, and thorough inspections, these experts make sure your new roof remains durable, leak-free, and reliable for many years to come.
Why a Proper Roof Replacement Process Matters
Many homeowners in Wiggins, MS, assume a roof replacement is a fast and simple project, but a long-lasting roof requires precision, careful planning, and the right materials to prevent future leaks. Cutting corners such as ignoring damaged decking, skipping proper underlayment, or reusing outdated ventilation can lead to serious problems. While the roof may look fine at first, these mistakes often cause failure when heavy rain, strong winds, or the next major storm hits.
A step-by-step procedure will ensure that every level of protection is addressed, which will result in a roof that performs well.
Step 1: Initial Roof Inspection and Assessment
Before any work begins, professional roofers conduct a thorough inspection from the ground up to the peak of the roof. They carefully assess shingles, flashing, valleys, gutters, and structural components to ensure everything is sound. This detailed evaluation helps uncover hidden problems such as sagging sections, rotted wood, mold growth, or inadequate ventilation issues that must be addressed to prevent future leaks and ensure a successful roof replacement.
This knowledge of their weak parts informs them on what materials to apply and the extent of repair. Skipping this step often causes poor results, so it is essential to begin a successful roof replacement.
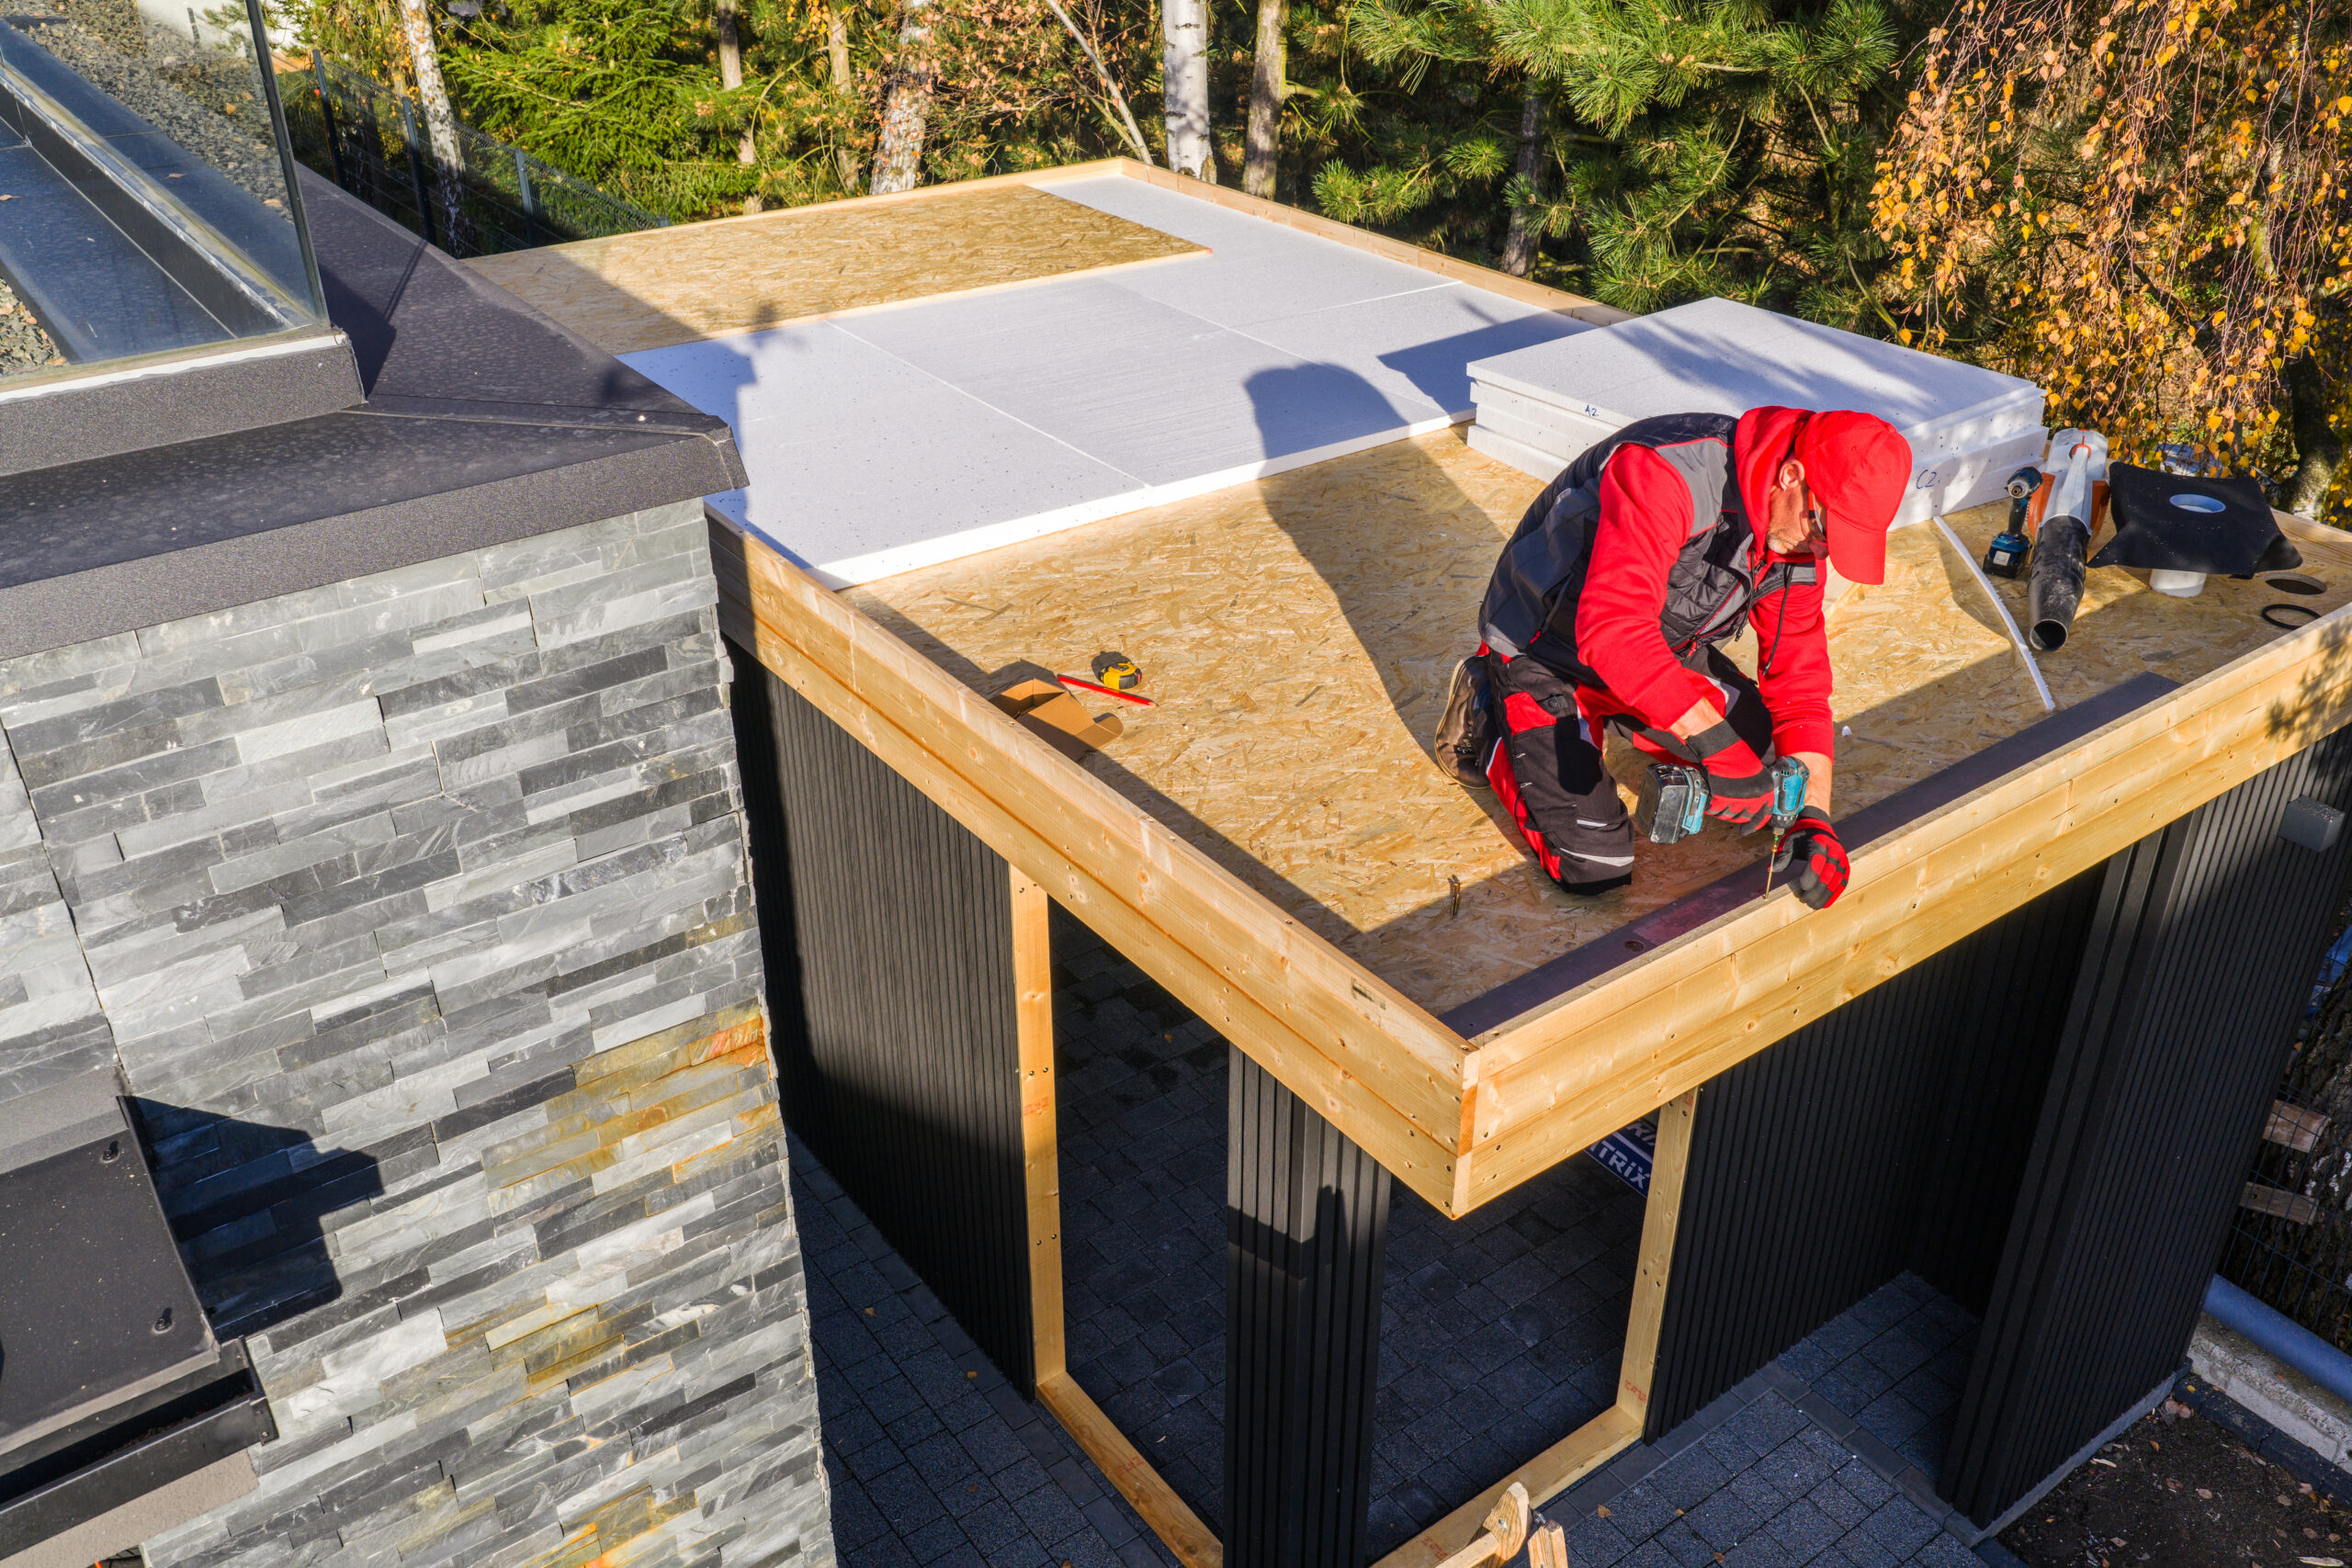
Step 2: Preparing the Property for Safe Removal
Roofing experts protect your home and surroundings before starting the project by covering plants, securing the work area with tarps, and preparing the site to keep it clean and safe. These precautions help prevent damage to landscaping, windows, and driveways. Homeowners are also advised to move vehicles away from the work zone, as debris may fall during the roof replacement process.
After all that is secured, the team begins to remove the old shingles and underlayment. Proper preparation might be a minor issue, but it will indicate a well-structured project without any difficulties.
Step 3: Removing Old Roofing Materials Carefully
During roof replacement, old shingles, nails, felt paper, and flashing are carefully removed to avoid damaging the underlying decking. This stage also allows roofers to spot hidden issues, such as rotted wood or mold, that may have gone unnoticed during the initial inspection, ensuring a solid and safe foundation for the new roof.
Any broken decking is changed immediately. Installing new materials on an unstable foundation is a major cause of leaks after a roof replacement. After cleaning the surface, roofers then ensure the structure is even and is prepared to receive the new roof.
Step 4: Installing the Underlayment and Waterproof Barrier
The underlayment acts as a protective barrier between the roof deck and shingles, preventing moisture from seeping into the structure. Today, synthetic underlayment is preferred over traditional felt because it is more durable, resistant to tearing, and provides superior moisture protection, ensuring a longer-lasting, leak-free roof.
Ice and water barriers are used on areas that are susceptible, such as valleys, eaves, and chimneys. It is this barrier that prevents future leakages due to heavy rainstorms or melting snow. A strong underlayment is one of the most critical layers of a reliable roof replacement.
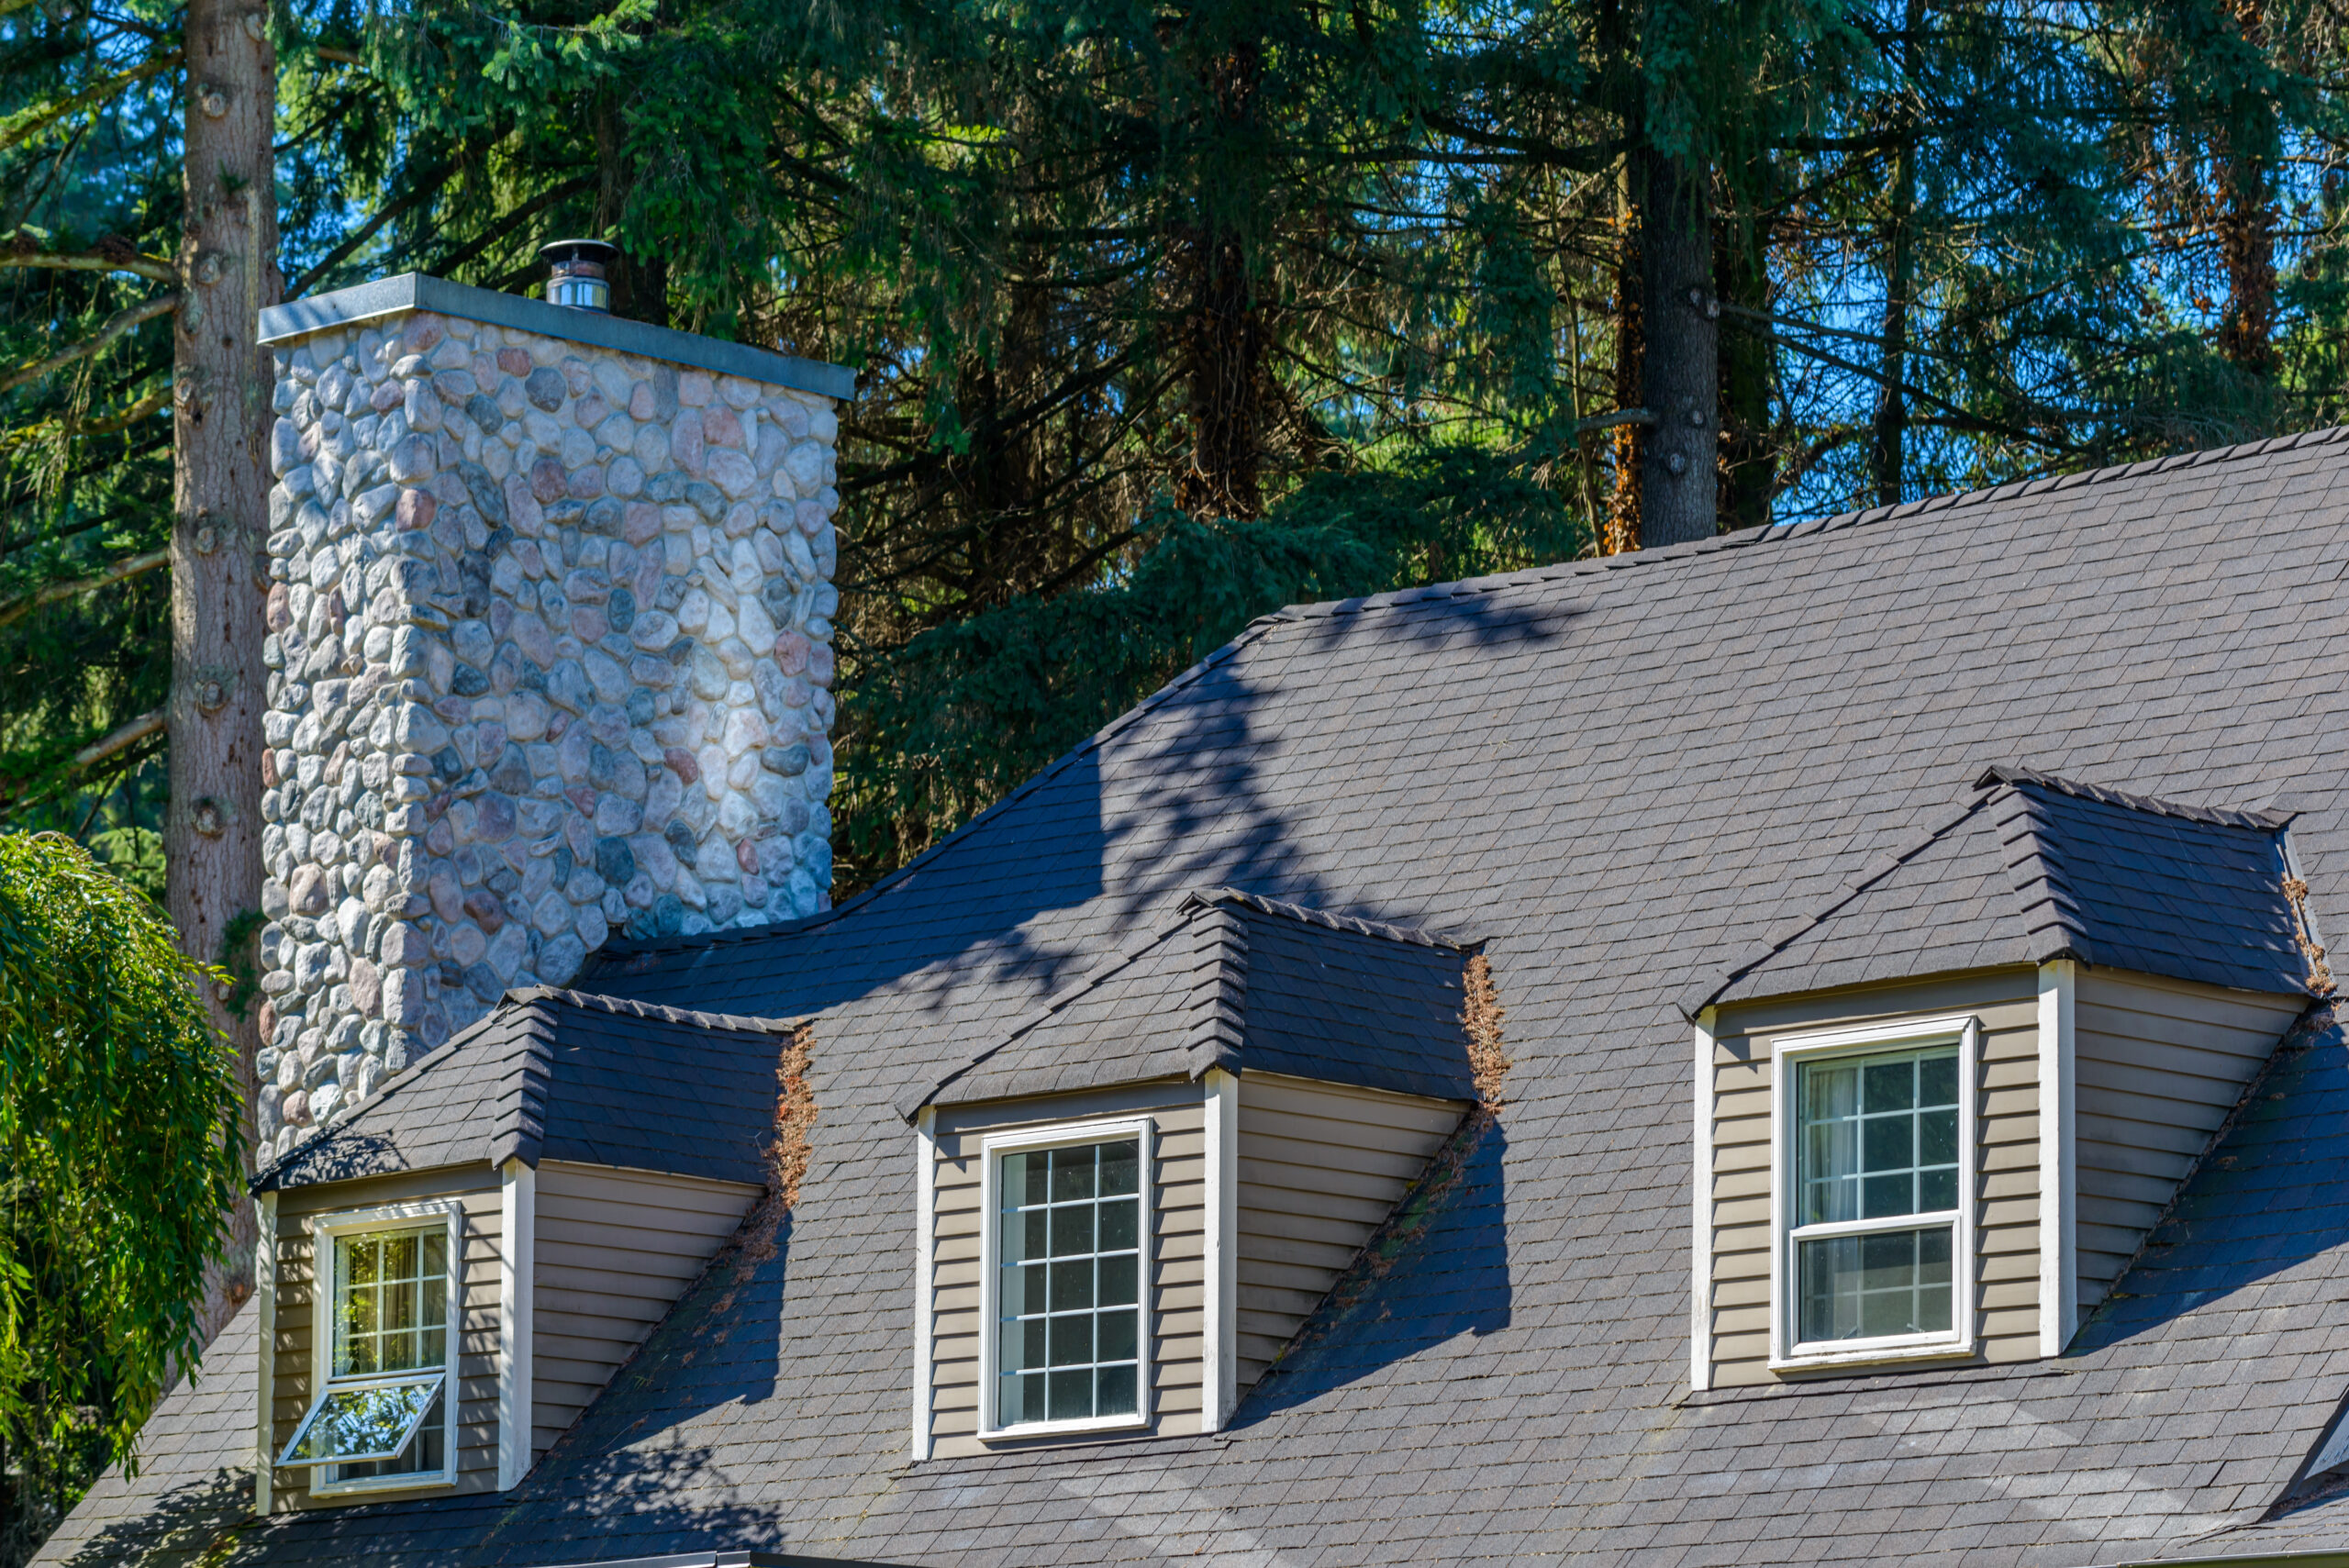
Step 5: Replacing Flashing, Drip Edges & Ventilation Components
Flashing plays a crucial role in directing water away from vulnerable areas, though it’s often overlooked. Professional roofers replace flashing around chimneys, roof vents, skylights, and wall intersections to prevent leaks. They also install drip edges to guide water into the gutters, keeping it from seeping under the shingles. At this stage, attic ventilation is checked and improved if needed, ensuring proper airflow and preventing moisture buildup that could damage the roof structure.
Without evenly distributed air, the moisture and heat stagnate in the attic, reducing the lifespan of a new roof. This step ensures your roof replacement performs well all year.
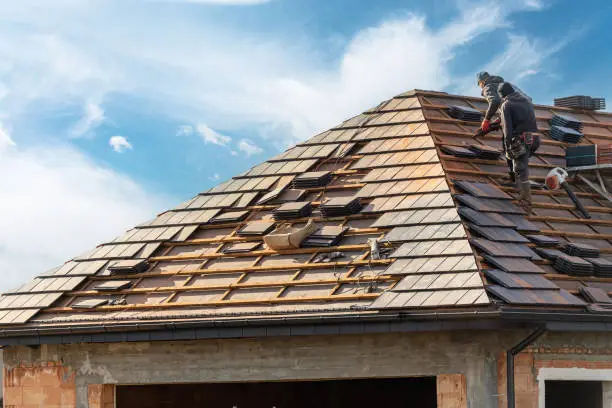
Step 6: Installing the New Shingles or Roofing Material
Roofers begin to install your new shingles once the protective layers are installed. Asphalt shingles still remain the biggest choice as they are cheap and durable. They are available in numerous styles, colors, and impact-resistant.
Shingle installation usually starts at the bottom edge of the roof, working upward in overlapping rows to create a strong, weather-tight seal. While the pattern may vary for metal, tile, or slate roofs, the careful, step-by-step process remains the same. Proper installation is essential, as it forms the foundation of a durable and leak-resistant roof.
Step 7: Final Inspection, Cleanup & Quality Assurance
Once the work is completed, the contractors then perform a final inspection in order to ensure that the roof is sealed, aligned, and well-ventilated. Another major component of the process is cleaning.
Old shingles, nails, and debris are cleared off to ensure that your yard is safe. Many companies offer a warranty inspection as part of their service, giving homeowners peace of mind that their roof replacement will last.
Conclusion
A proper roof replacement is a long-term investment that protects your home from leaks and damage. Following a step-by-step process from inspection and material selection to professional installation ensures durability, weather resistance, and structural integrity. A correctly installed roof improves energy efficiency, boosts curb appeal, and adds property value while preventing costly future repairs.
FAQs
1. How long does a typical Roof Replacement take?
Usually 1–3 days, depending on the roof size and weather.
2. What season is best for Roof Replacement?
Spring and fall offer ideal temperatures and conditions.
3. Can I stay home during a Roof Replacement?
Yes, but expect noise and some temporary outdoor disruptions.
4. How do I know if I need a complete Roof Replacement?
Frequent leaks, curling shingles, and sagging areas are major signs.
5. Does insurance cover Roof Replacement?
Yes, if damage is caused by storms or covered events.